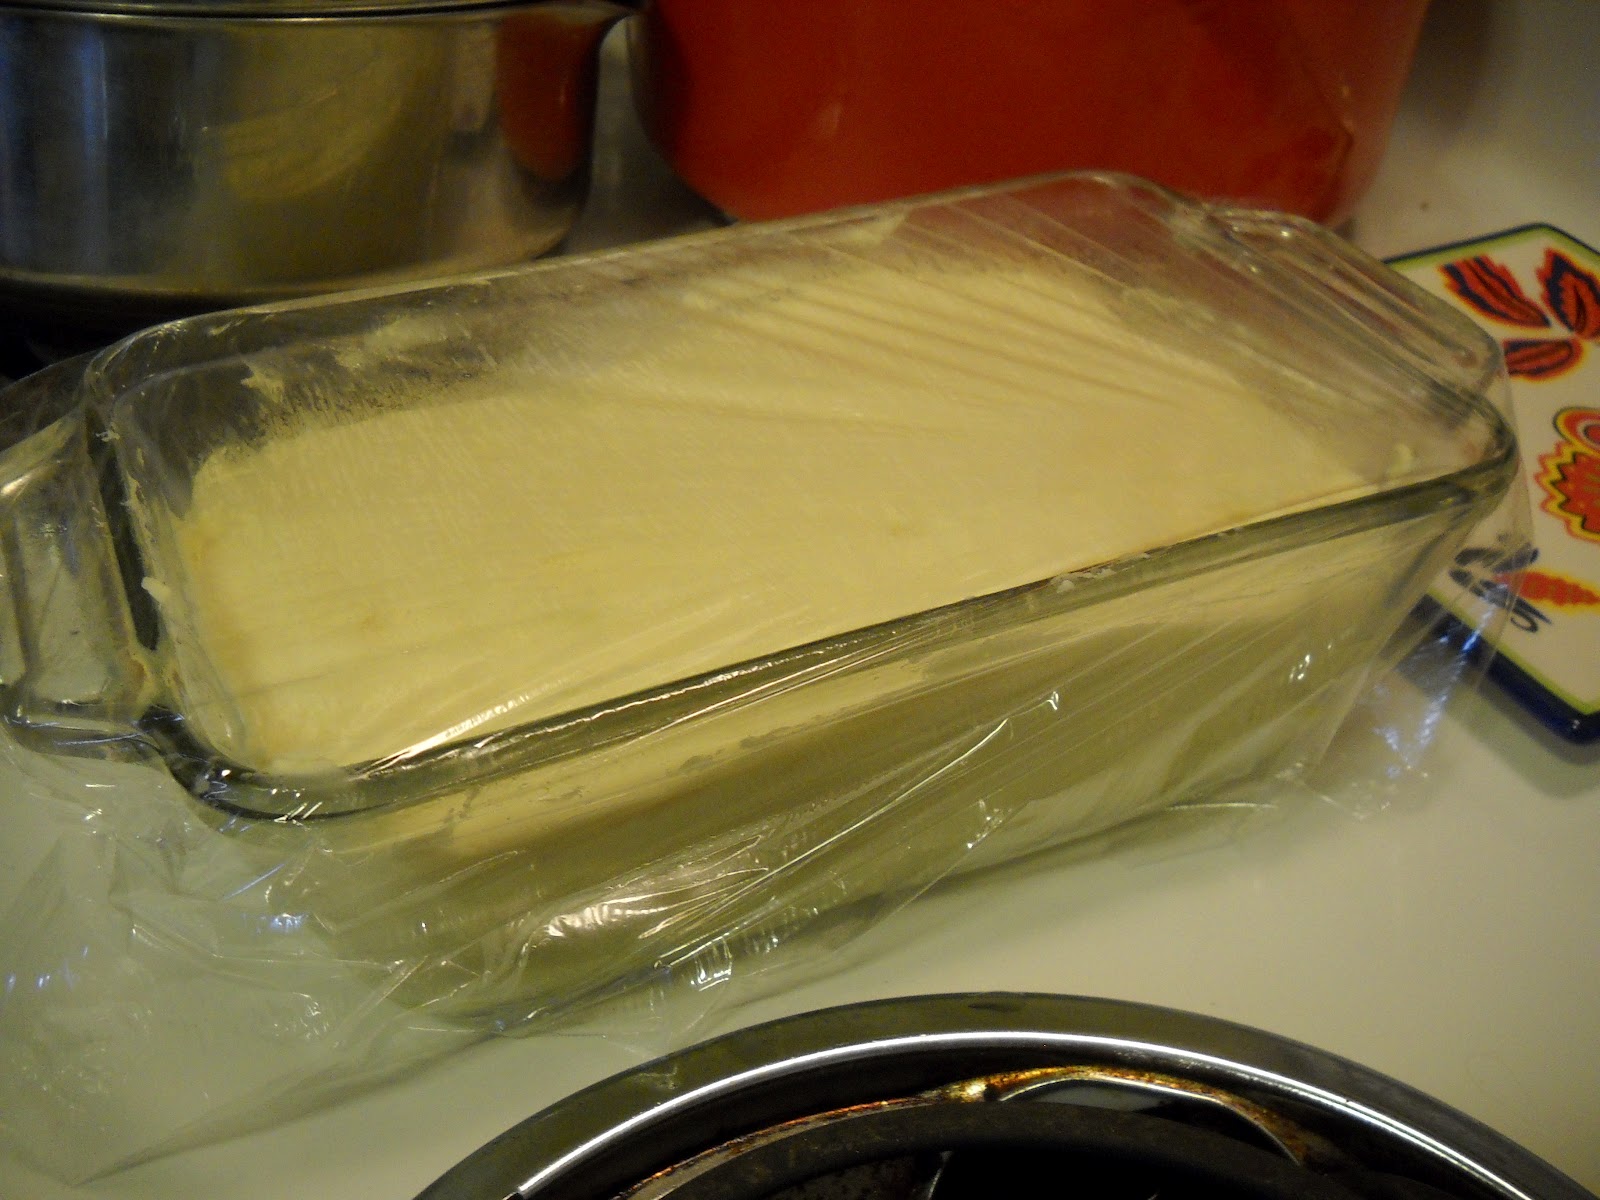
Wednesday, August 22, 2012

Cauliflower Pizza

As the restaurants in my area have started to offer a gluten free option for pizza I've turned into a pizza fiend. Pizza was one thing I truly missed being gluten free. With a gluten free pizza it's all about the crust. Sure toppings can vary but when I'm judging a pizza I'm truly interested in the quality of the crust. I've found some thin and crisp to some fluffy and almost pancake like. Once I find a crust I love I can play with the sauces, cheese and toppings and create my perfect pizza.


Pinterest yet again brought me something amazing during my pizza frenzy,  A gluten free, no-carb pizza crust. How you may ask? Using Cauliflower, egg and mozzarella cheese.  I decided it was worth trying out and used the first recipe I saw.


With this recipe you steamed the cauliflower before ricing it (no matter how long I cooked it I couldn't get it through my ricer, so I chopped it into tiny pieces), add the shredded cheese, egg and some spices, mix together and shape. The idea was to then bake it for 15 minutes, take it out, top it with sauce and cheese and bake for another 15 or so minutes.


I think steaming the cauliflower is a mistake. It had so much moisture from steaming the cauliflower that the egg got running and it took extra long to cook.


Leaky edges or not, I was going to finish and eat this pizza. It was very mushy and had to be eaten with a fork but it did taste amazing and Mr. Beam and I ate the whole thing!

Round 2

We loved the taste of the cauliflower pizza despite its soggy and floppy 'crust', so two weeks later I decided to try again, with a slightly different recipe in hopes of creating  more of a pizza like crust.


Instead of steaming the cauliflower and ricing it, you just grated it raw on a cheese grater then added it to mozzarella, eggs and spices. This 'dough'  had more structure then the last attempt and looked promising.
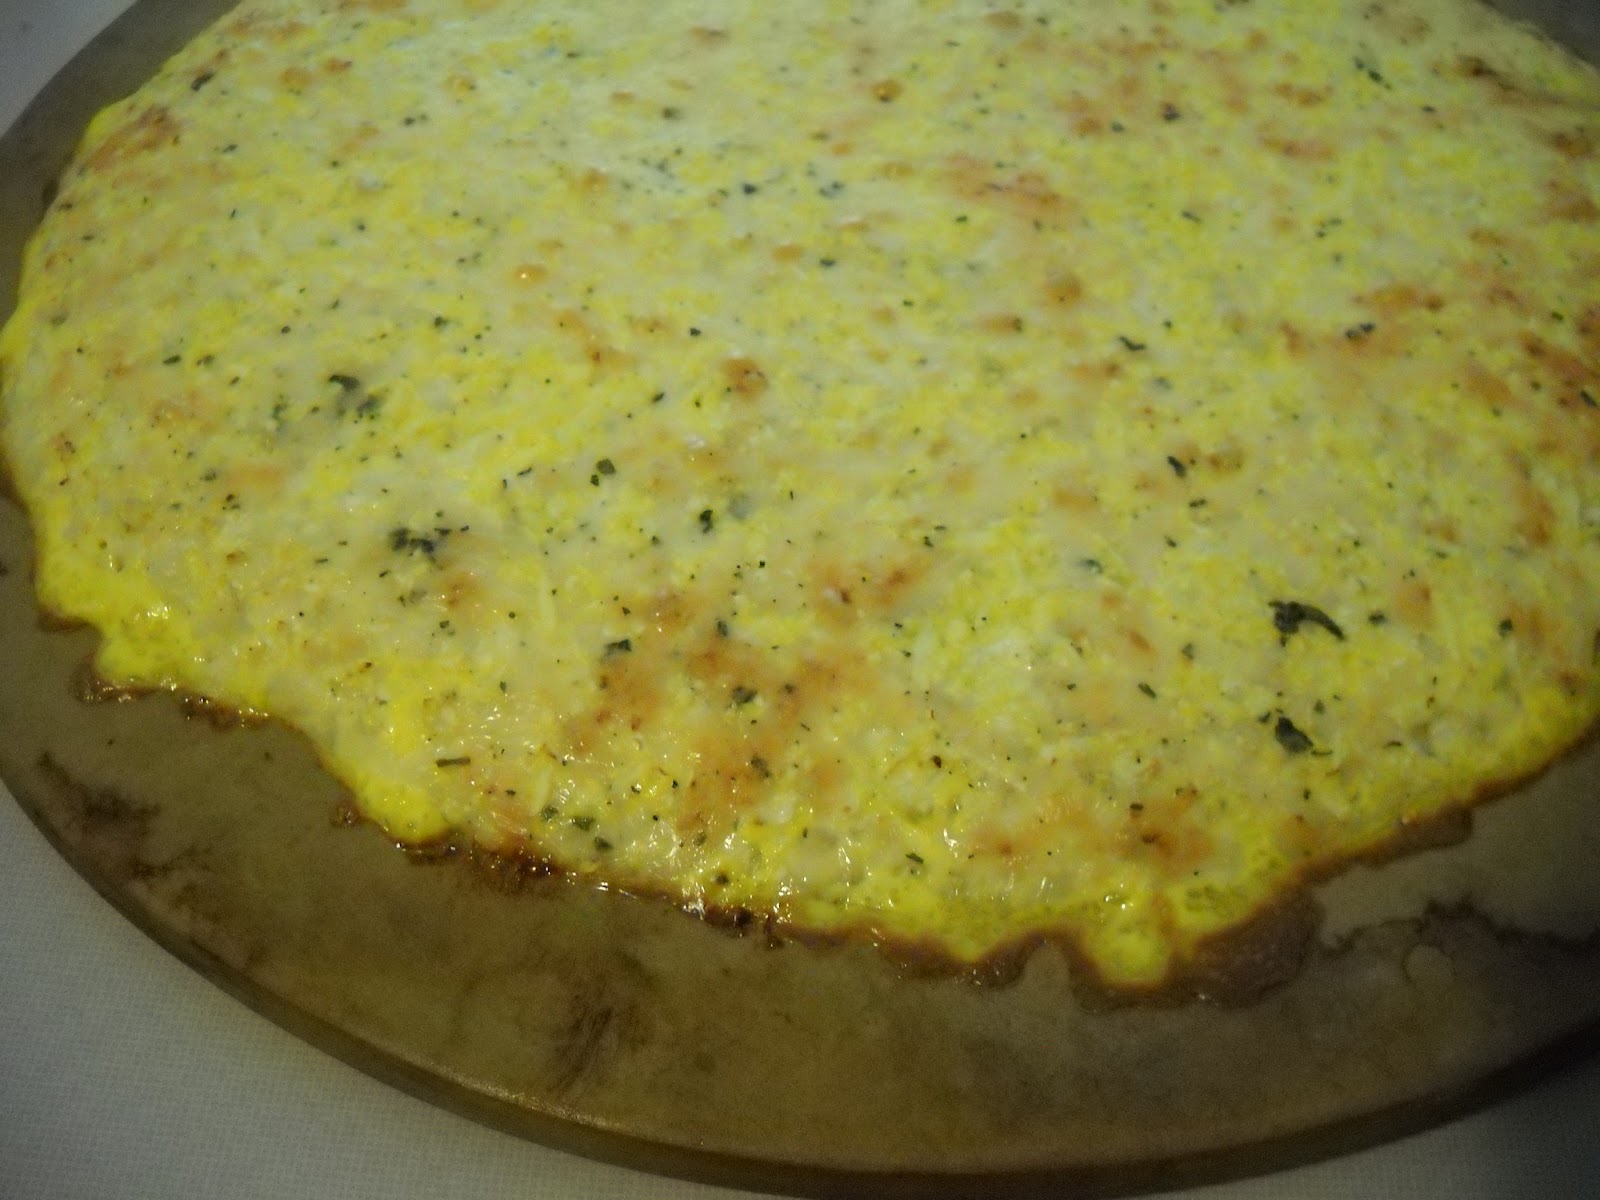

The egg ran only a little this time and the crust kept it's structure. I also didn't have to cook it for as long.


I made my sauce with tomato paste, cream, spices, and my family trade mark to any tomato sauce; brown sugar. It helps even out the high acid flavor and gives it more depth, it helps make amazing spaghetti sauce.

I then topped it with cheese and baked it until melted and bubbly. Which seemed like forever, it smelled so good.


I could actually pick up the pieces with my hands and it held together, it wilted and wanted to fall with gravity but it wasn't falling apart on me. I made this on a night when Mr. Beam was working so despite my best efforts I could not eat it all. There were 5 pieces left that I covered in plastic wrap and put in the fridge. Mr. beam said it tasted just as good cold and even left me a small piece for lunch the next day. When I reheated it in the microwave it lost it's structure and would fall apart but tasted just as good, if not better, then the night before.

So even though it isn't the normal pizza crust i'm searching for it surpassed my expectations and found it's way onto my favorites list.


Tuesday, August 7, 2012

A different way

I love keeping hard boiled eggs in the fridge. I grab one when I'm in a hurry, just peel, eat, and go.  It helps that I get a few dozen farm fresh eggs from my parents every two weeks, I'm a little spoiled.

Now with them being fresh from the farm they do not like to peel very easily, there is a protective film between the egg and the shell. I've read that putting baking soda in the water as you boil them makes peeling easier.

Then the other day on pinterest I saw a pin on baking the eggs instead of boiling them. So the next time I need to boil my eggs I baked them instead.


So I arranged the eggs on the oven rack and baked them for 20 minutes, easy.

I then put them in an ice bath to cool them quickly and stopped the cooking process. (my ice is almost completely melted in the photo)

 I peeled one for a snack right after they were cooled, it was so easy to peel and it was cooked perfectly. I was really excited.

I normally keep my 'boiled' eggs in the door of my fridge with the shells still on so I can grab then at leisure,  however I found that with this baking method leaving the shell on is a mistake and the egg is supper hard to peel afterwards (was left to eat only the yolk several times because of how mutilated the white got while trying to peel it).

So if your needing the eggs for a party and will use them right away go ahead and bake them, but if you plan on storing them like I do, boil them or bake them and peel right away (you would then need to seal them in a container for later use) I like that I found another method for getting the perfect 'boiled' egg but I think i'll stick to  boiling in for now...

Tuesday, July 24, 2012

A simple Loaf

I've had this box in my baking cupboard for a while now, sense the cinnamon raisin bread (which was only half eaten before needing to be tossed) I haven't felt like making bread. And if I did It was going to be used in my smaller loaf pan or even my cupcake pan. But with this meal planning thing I'm finding myself in need of full size slices, so I grabbed the box and began.


 I have to say upfront that I was not impressed with the instructions (unless your using a bread maker, they put more time into explaining that method), but with common sense it's easy enough.

It had to sit and rise so I busied  myself with another cooking project (baking eggs instead of boiling, more on that later)  Once it was baking it made my entire apartment smell like bread-y heaven and when it was done cooking, oh man it looked beautiful, it was so hard not to cut into it right then and there.


Once it cooled I made a sandwich for dinner and paired the rest of the slices, separated them with foil and put them in a freezer bag for later use. The bread was dense and chewy with the crumbly top, it was close to the french bread my mother would make from scratch when I was little.


I used some for toast the other morning, just went from freezer to toaster just fine (it took a bit longer to toast then the store bought GF bread that I used to keep in the freezer). All in all I was happy with the results, next time I'll have to use it as pizza crust and see how it turns out!